If you’ve recently stepped into the world of custom 4×4 ownership, chances are you’re already thinking beyond performance. The look and feel of your cabin matter too. Whether you’re driving a tough build or a stylish daily, adding personalised touches can be just as rewarding as any engine mod. Even small upgrades like switching out stock panels or adding select Volkswagen Amarok accessories can instantly make your vehicle feel more premium, comfortable, or uniquely yours.
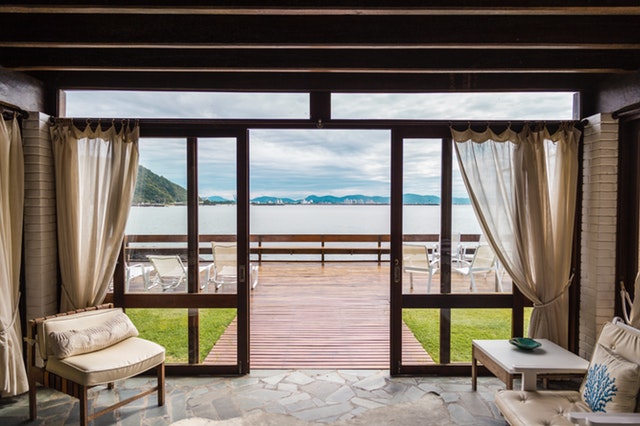
Many people start their interior upgrade journey after realising how much time they spend inside their vehicles. It’s not just about getting from point A to B anymore—it’s about how the journey feels. A custom interior adds comfort, reflects your personality, and even enhances resale value if done right. But if you’re new to this scene, it’s easy to feel overwhelmed. Materials, styles, tech, and compatibility all matter—and one wrong selection can cost more than just money. This guide is designed to help you understand the process so you can upgrade with confidence.
Know Your Interior Goals
Before you start buying components, ask yourself what you want from your interior. Are you looking for added comfort on long road trips? Do you want better storage for tools or off-road gear? Or is it about aesthetics—leather trims, ambient lighting, and sleek finishes? By setting your intent early, you can avoid scattergun purchases that clash or don’t serve a purpose.
For example, if your goal is practicality in a working vehicle, hard-wearing materials like rubber mats and modular seat covers might be your priority. If luxury is your vibe, you’ll want to explore options like Alcantara, stitched leather, or minimalist trims. Setting a theme or colour palette can help guide your future decisions.
Start with the Essentials
For beginners, it’s smart to start small. Swap out easily replaceable items first—steering wheel covers, seat covers, floor mats, or gear knobs. These basic upgrades don’t require specialised tools and can be reversed if you change your mind.
Next, consider the lighting. LED interior lights can make a dramatic difference to the cabin’s mood, especially at night. Whether it’s under-seat lighting or a backlit dash, this upgrade is simple, low-cost, and high impact.
Storage upgrades are also worth considering early on. Options like centre console organisers, backseat pouches, and custom dash trays are available for most models and can help tidy up your space. In dual-cab utes and 4WDs, seatback organisers are especially useful for holding tools, cables, and gadgets.
Invest in Quality Materials
When you’re ready for more permanent changes, material quality becomes crucial. Inferior vinyls or plastics not only look cheap but also wear down quickly. Look for components that match or improve upon your original trim. This is especially important if you’re replacing door cards, dashboard fascia, or headliners.
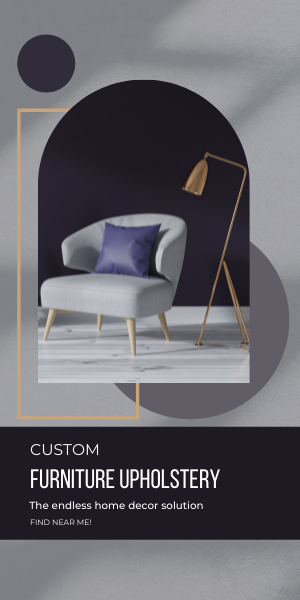
Upholstery upgrades are one of the biggest steps you can take. Professional reupholstering services can transform old cloth seats into leather or suede with precise stitching patterns. While pricier, the outcome is more refined, more durable, and easier to clean.
For DIY upholstery kits, make sure they’re vehicle-specific and come with proper installation guides. Some kits may require you to remove and disassemble seats entirely—a task best left to pros if you’re unsure.
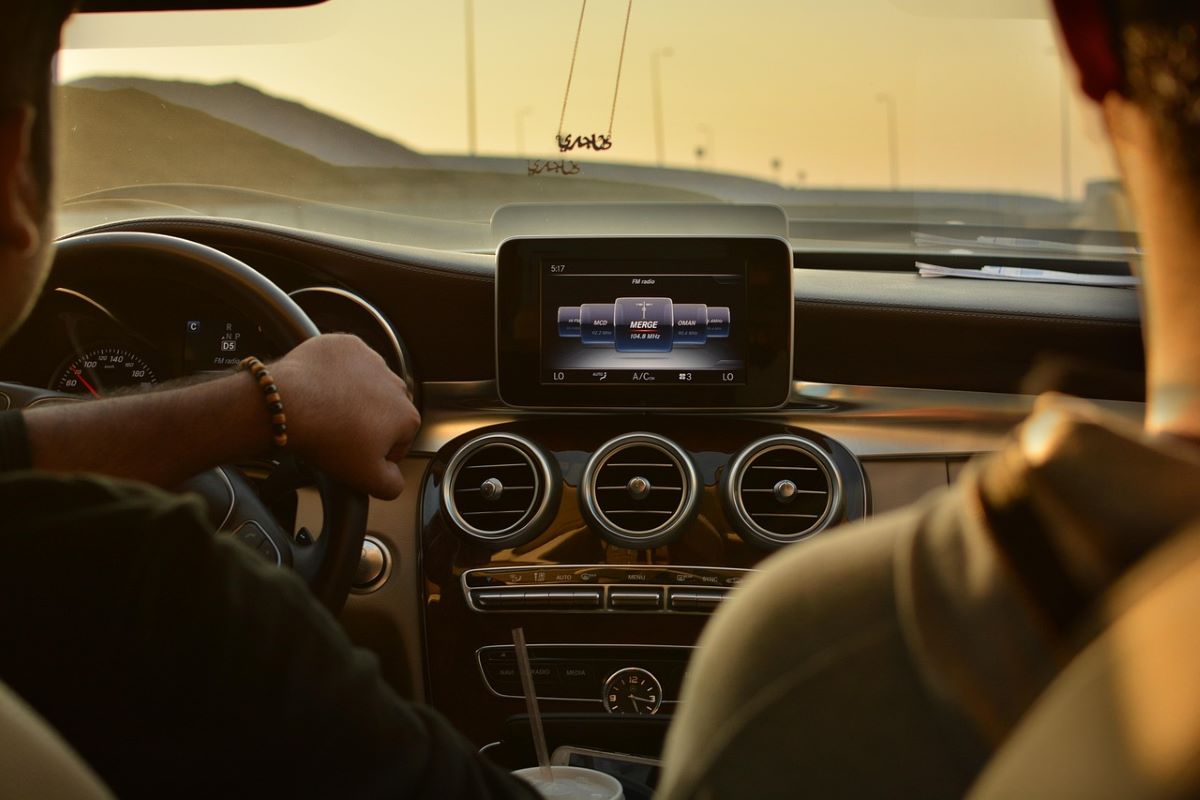
Integrate Modern Tech Thoughtfully
Many car owners rush to install large screens or smart systems only to find them incompatible or poorly fitted. If you’re thinking of adding a touchscreen, reversing camera, or updated stereo system, check for plug-and-play kits designed for your specific vehicle.
You can also look into smartphone mounts, wireless charging pads, or even digital gauge clusters if you’re more tech-savvy. Just remember that not every upgrade suits every vehicle. Choose tech enhancements that actually improve your daily driving experience.
Match Accessories to Your Vehicle Type
Not all interiors are created equal. A ute like the Amarok has very different interior dynamics compared to a compact SUV or a sedan. That’s why it’s smart to use accessories specifically tailored to your make and model. Many aftermarket companies design parts with exact fitments, ensuring the product won’t rattle, misalign, or damage surrounding materials.
Using model-specific accessories also helps retain the structural integrity and warranty of your interior. Whether it’s a dash organiser, roof console, or seat frame mod, matching it to your vehicle will deliver better results with less stress.
Balance Style with Function
While it’s tempting to go all out with mood lighting and carbon fibre everything, remember that practicality counts—especially if your vehicle doubles as a workhorse. For off-roaders and tradies, custom interiors should support your lifestyle. That means durable surfaces, stain-resistant fabrics, and clever storage rather than purely aesthetic upgrades.
Conversely, if your car is more of a weekend cruiser or city slicker, feel free to lean into stylised trims, upgraded foot pedals, or stitched dash tops. Just don’t sacrifice usability for flash. A good interior works hard and looks good doing it.
Learn from Other Builds
One of the best ways to avoid rookie mistakes is by learning from others. Browse car forums, social media groups, or YouTube channels dedicated to car customisation. Real-world reviews and progress pics can help you identify what works and what doesn’t, especially when it comes to specific car models.
It also helps to check if certain parts have common complaints—like fading, cracking, or poor fitment. Knowledge from the community can save you both time and money.
Remember, whether it’s your first mod or the start of a much bigger transformation, focusing on comfort, functionality, and personal flair will always steer you in the right direction. Start with the basics, take your time, and enjoy the ride—you’re not just changing how your car looks, but how it feels to drive every day.